A powerful software like Photoshop can turn an average looking image or drawing into a stellar asset for a project. The trick is to learn to use some of its best features and optimize your workflow for maximum efficiency.
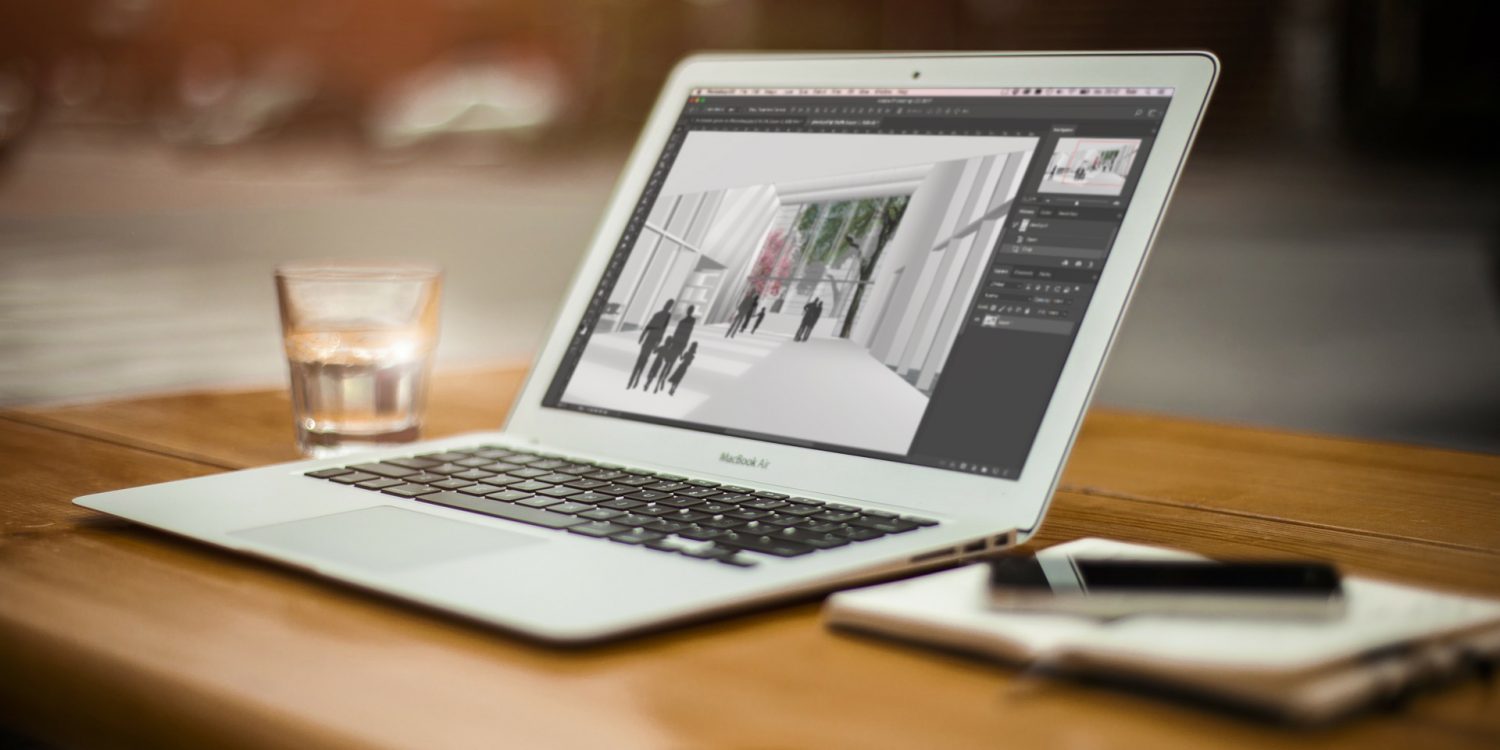
Over the years Photoshop has become the go-to tool for architects for any kind of image-based editing. The software has become indispensible thanks to its versatile features. It is a powerful tool for tweaking renderings or create them from scratch. Some of the most renowned visualization artists rely heavily on Photoshop and use very crude masses done in 3d programs as a starting point. From photorealistic renderings to editing photographs of built projects and beautifying line work, Photoshop can be an architect’s best friend.
Non-Destructive Workflow
As with any type of software, it is important to maintain control of a project and allow yourself to go back and forth between steps without losing work. A non-destructive workflow can save you a lot of time and headache. Use masks and adjustment layers to preserve flexibility, reduce the number of layers in the layers palette so you can experiment and tweak specific things and see how they interact. Masks allow you to cut out parts of different layers and apply adjustments to specific areas of the image. Group layers and give them specific names to avoid confusion. If you duplicate a layer and leave it as “Layer 1 copy”, you can easily end up with a messy file.
Smart Objects
Have you ever placed an image on the canvas, scaled it back only to notice a loss in quality? This is what smart objects can mitigate. They can be scaled down of up to its original size and rotated without losing quality unlike with a rasterized image. One of the great things about Smart Objects is how they save the Free Transform options that you apply to them. If you distort a Smart Object, for instance, and apply the transformation, your original transformation will still be available if you need to adjust the transformation later on. You can duplicate Smart Objects with the duplicates behaving like instances. If you want to work on them separately choose New Smart Object via Copy option.
Hotkeys
Using hotkeys can significantly speed up your workflow. Learn to use the keyboard to quickly access specific features and options. Here are some of the hotkeys you’ll need the most:
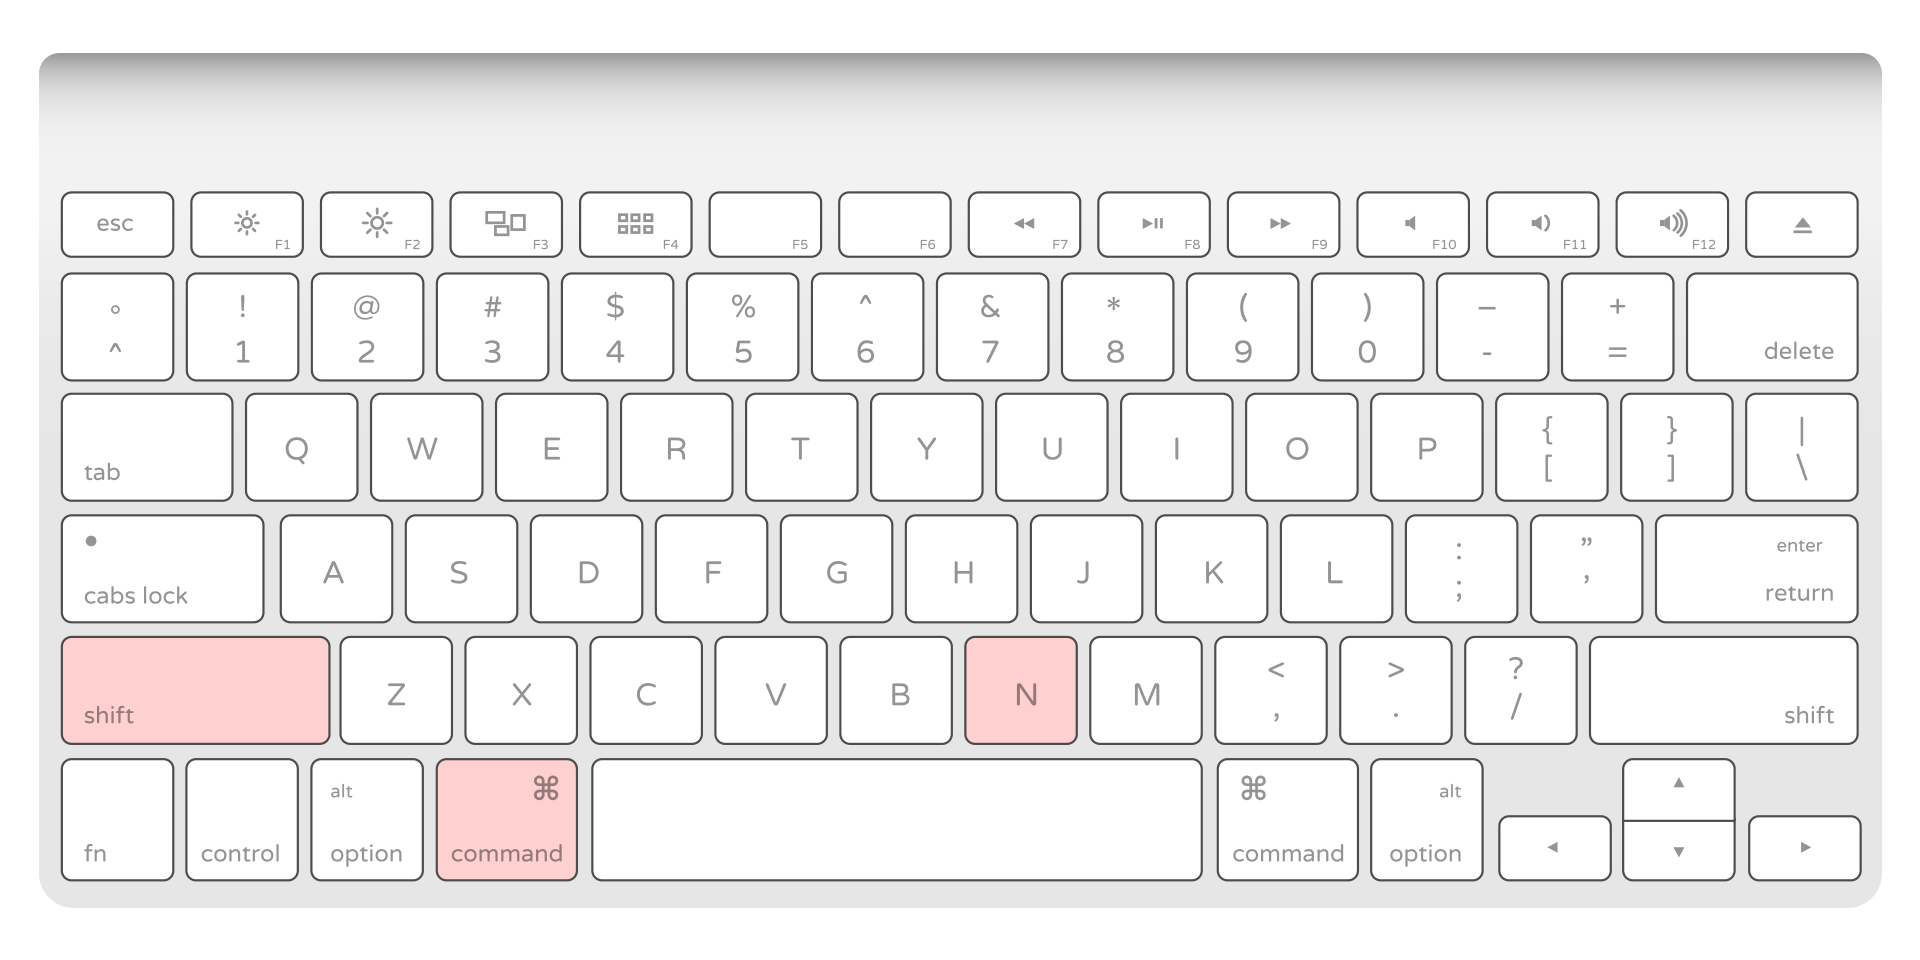
Create a layer:
- MAC: Shift+Cmd+N
- WINDOWS: Shift+Ctrl+N
Flatten layers:
- MAC: Cmd+Alt+Shift+E
- WINDOWS: Ctrl+Alt+Shift+E
Invert selection:
- MAC: Cmd+Shift+I
- WINDOWS: Ctrl+Shift+I
Deselect the entire image:
- MAC: Cmd+D
- WINDOWS: Ctrl+D
New layer via copy:
- MAC: Cmd+J
- WINDOWS: Ctrl+J
New layer via cut:
- MAC: Cmd+Shift+J
- WINDOWS: Ctrl+Shift+J
Increase/decrease brush size:
- MAC: ]/[
- WINDOWS: ]/[
Free Transform:
- MAC: Cmd+T
- WINDOWS: Cmd+T
Blending modes:
- MAC: Shift+plus(+) or minus(-)
- WINDOWS: Shift+plus(+) or minus(-)
Change image size:
- MAC: Cmd+Opt+i
- WINDOWS: Ctrl+Alt+i
Change canvas size:
- MAC: Cmd+Opt+c
- WINDOWS: Ctrl+Alt+c
Sample Colors Outside Photoshop
Instead of importing an image into Photoshop just so you can sample a specific color, you can select the Eyedropper tool, left-click, hold and drag the cursor anywhere outside of Photoshop (desktop, other folders, images, web browser, etc.).
Protect your Images
As a professional you’ll possibly be sending Photoshop files to clients. It is important to protect your work and make sure clients doesn’t use it without your permission or involvement. You can encrypt the file so that it requires a password to print or edit. You can save it as a PDF, and choose Security, then Permissions and enter a password to prevent printing and editing.
Reveal All
When working with different layers and placing images, you can miss the fact that there are hidden pixels outside of the canvas. This is where Reveal All can become useful. Go to Image> Reveal All to make the canvas large enough to fit all the pixels on every layer.
Test out Filters
Applying filters to images can be a memory-intensive task. It can take a while to apply a filter to a relatively large image. This is why it’s good to select a smaller area and apply a filter to it as a test.
Match Color of an Image
To maintain color consistency between several images of the same project, Match Color command can save you a lot of time. You can open the two images-the source image and the target image–as two separate images or layers, then choose Image > Adjustments > Match Color… and select the source image from the Source pull-down menu. This reads the color statistics from one image and applies them to the other. You can also adjust luminance, color intensity and fade.
Learn to Let Go
Tweaking images in Photoshop can eat up a lot of your time if you don’t learn to make decisions. The variety of options and the use of a non-destructive workflow are great, but can easily turn on you. It’s important to set a time frame for yourself and not to get caught up in trying all possible styles. Learn to let go.
***
Tell us about your typical workflow in Photoshop. What other hotkeys do you consider to be lifesavers?
